LIST OF WORKS

Sign Writing all London. Professional and great-value specialist.
Signage is one of the most cost-effective marketing investments you can make. Let’s make your special place stand out on all corners of London.


‘We absolutely love our sign Nick… fantastic work!”
Helen Mellor, David Mellor Design London
London Classic Letters
Our amazing and rather Beautiful collection of Traditional Roman Fonts
Read More here >>


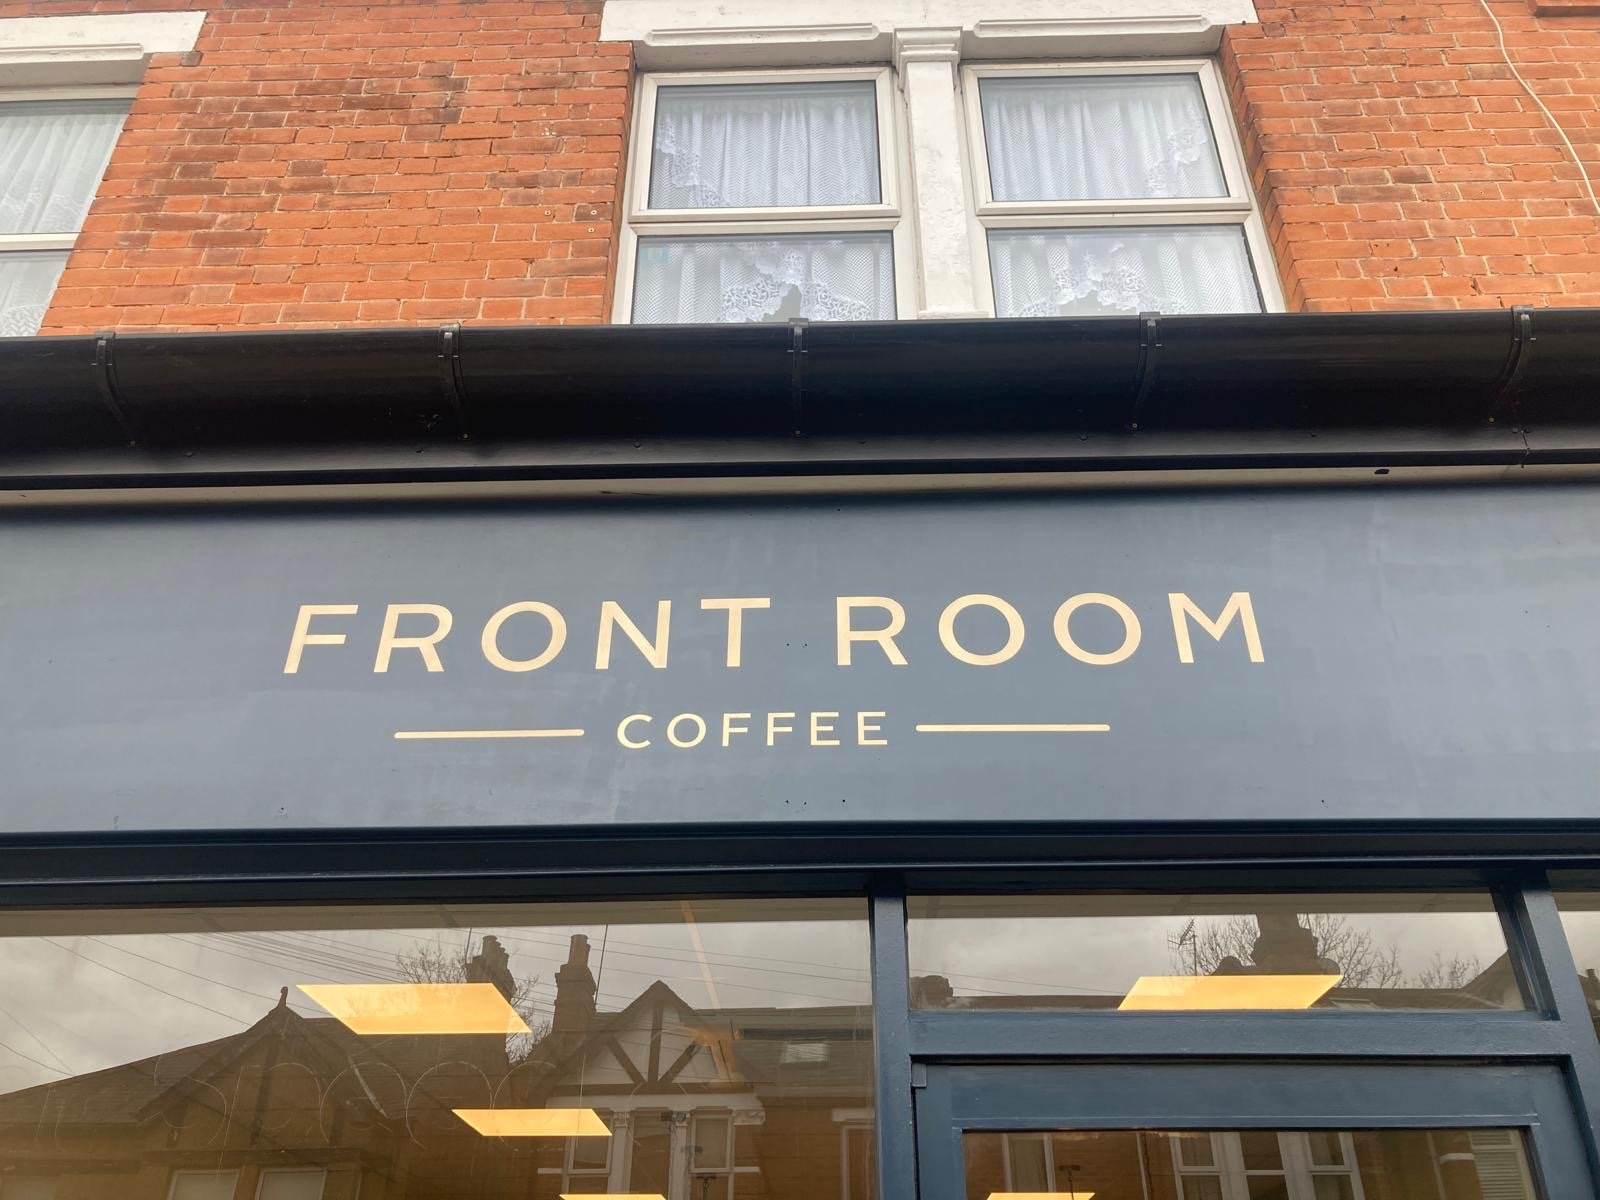
Soho Cool Shops

Heritage Retro Shops


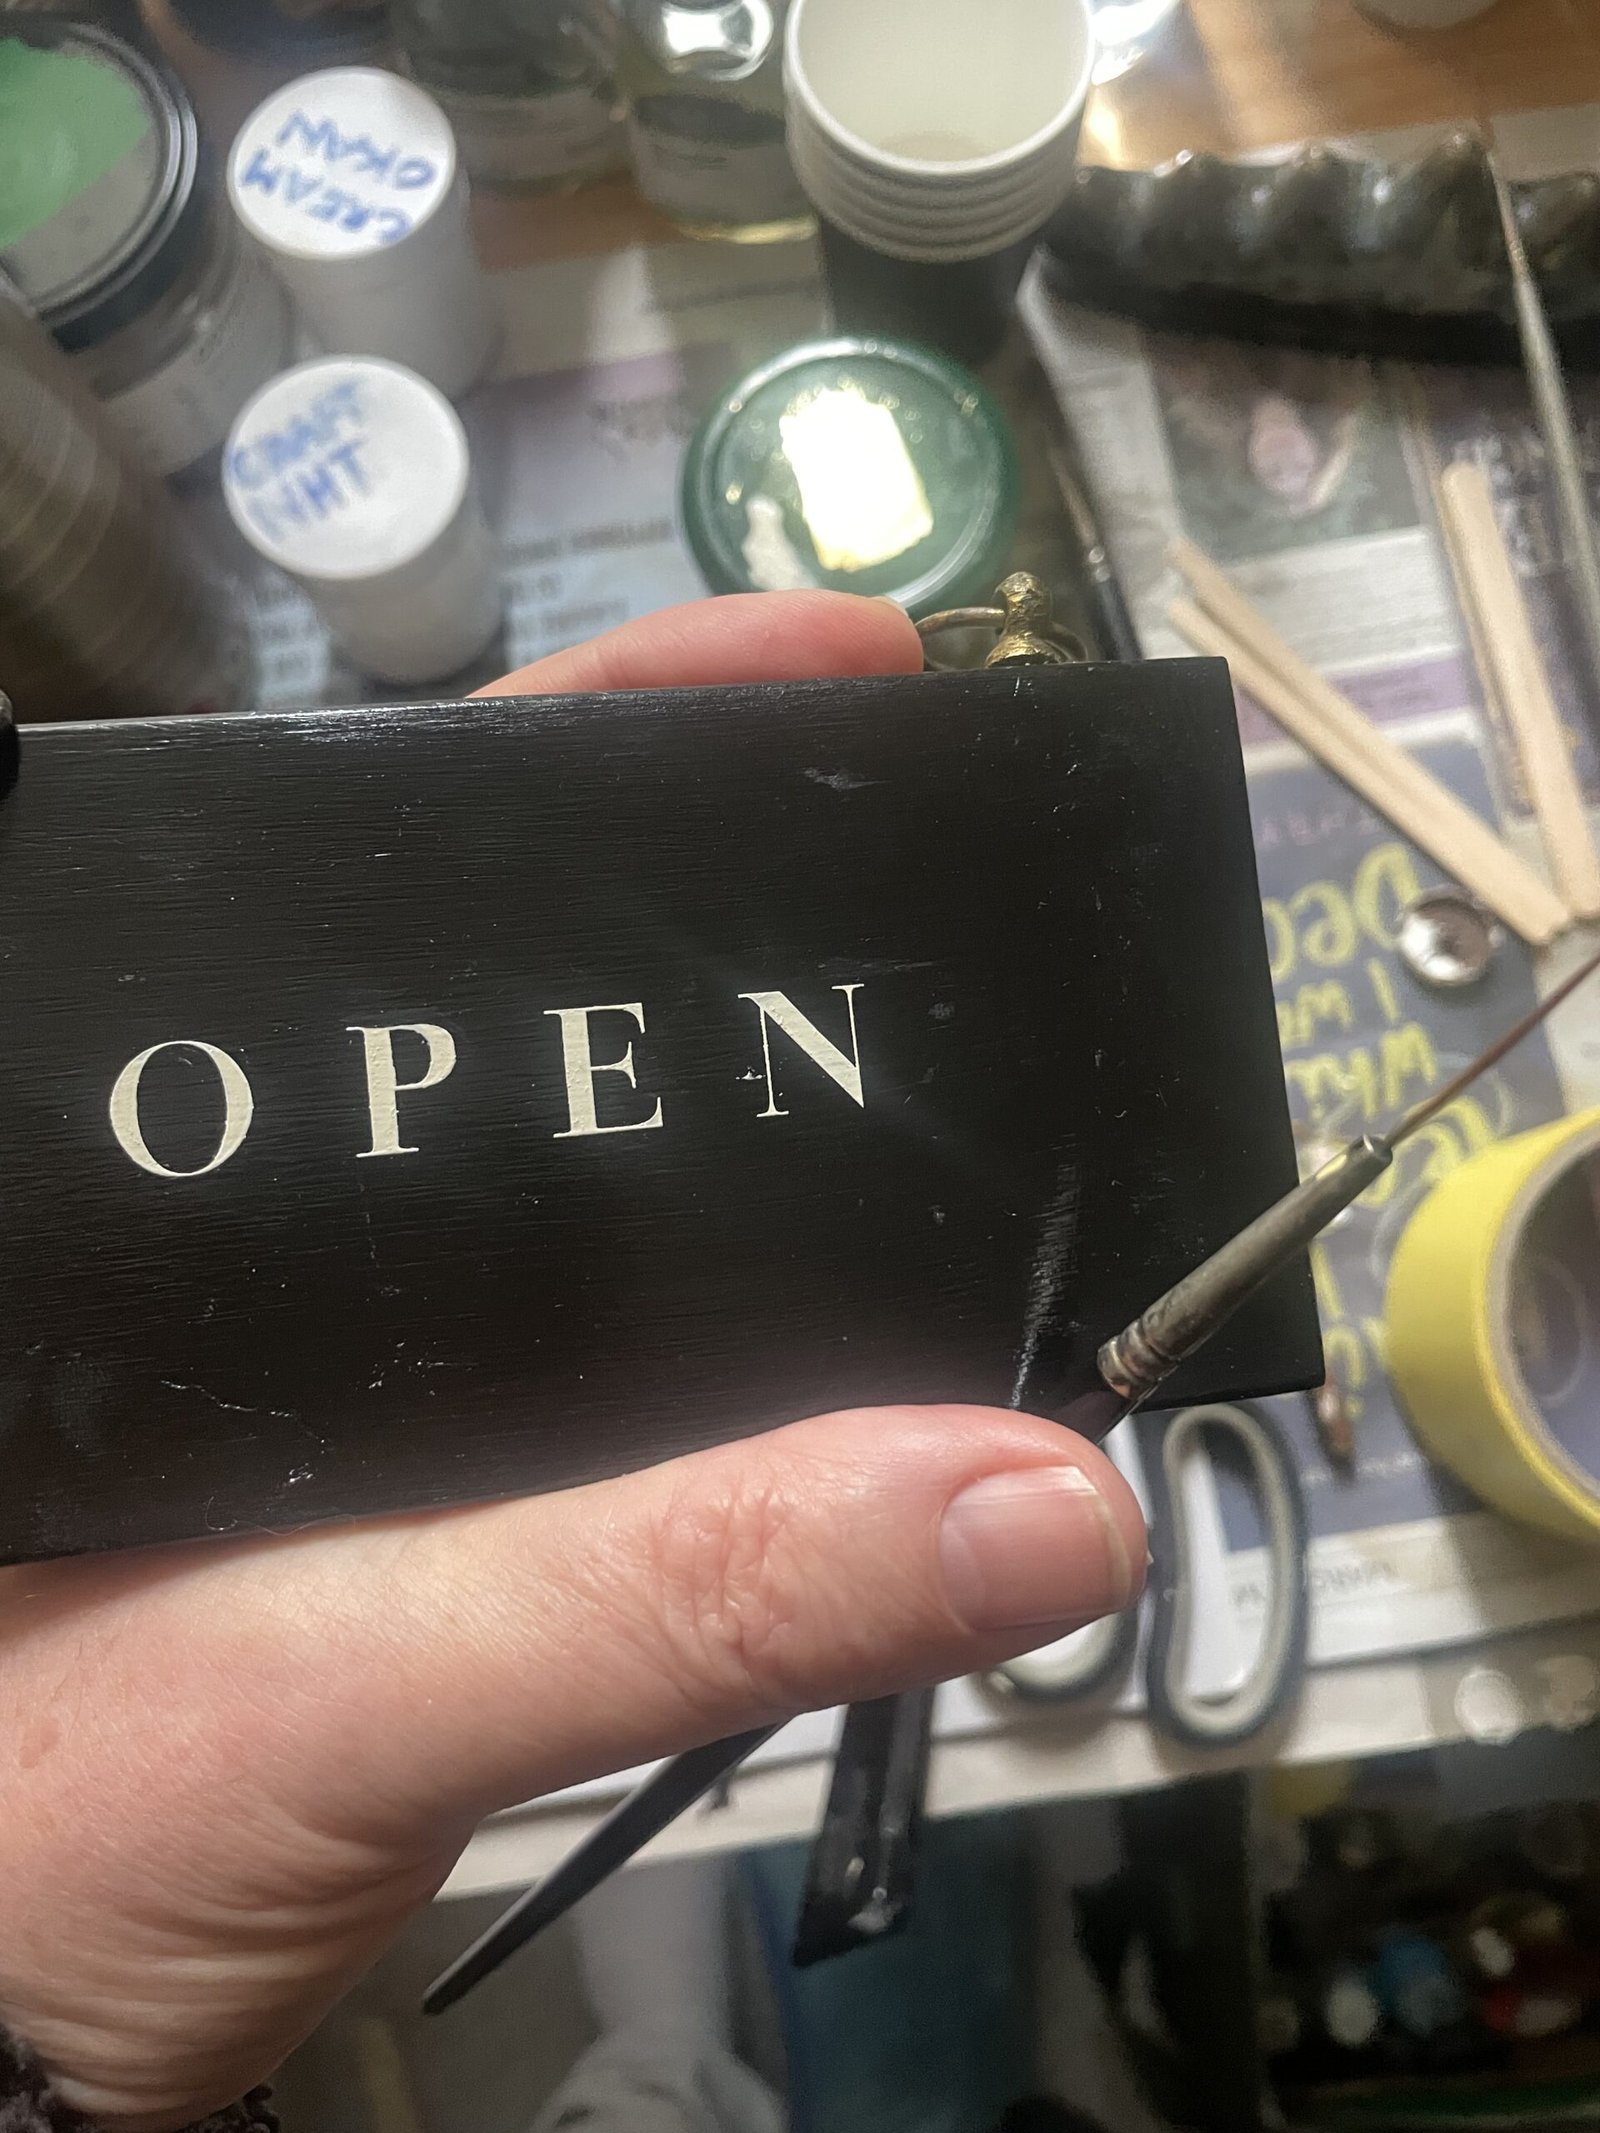
Gold Leaf & Glass Gilding
Creating coolest gold ID & strap lines

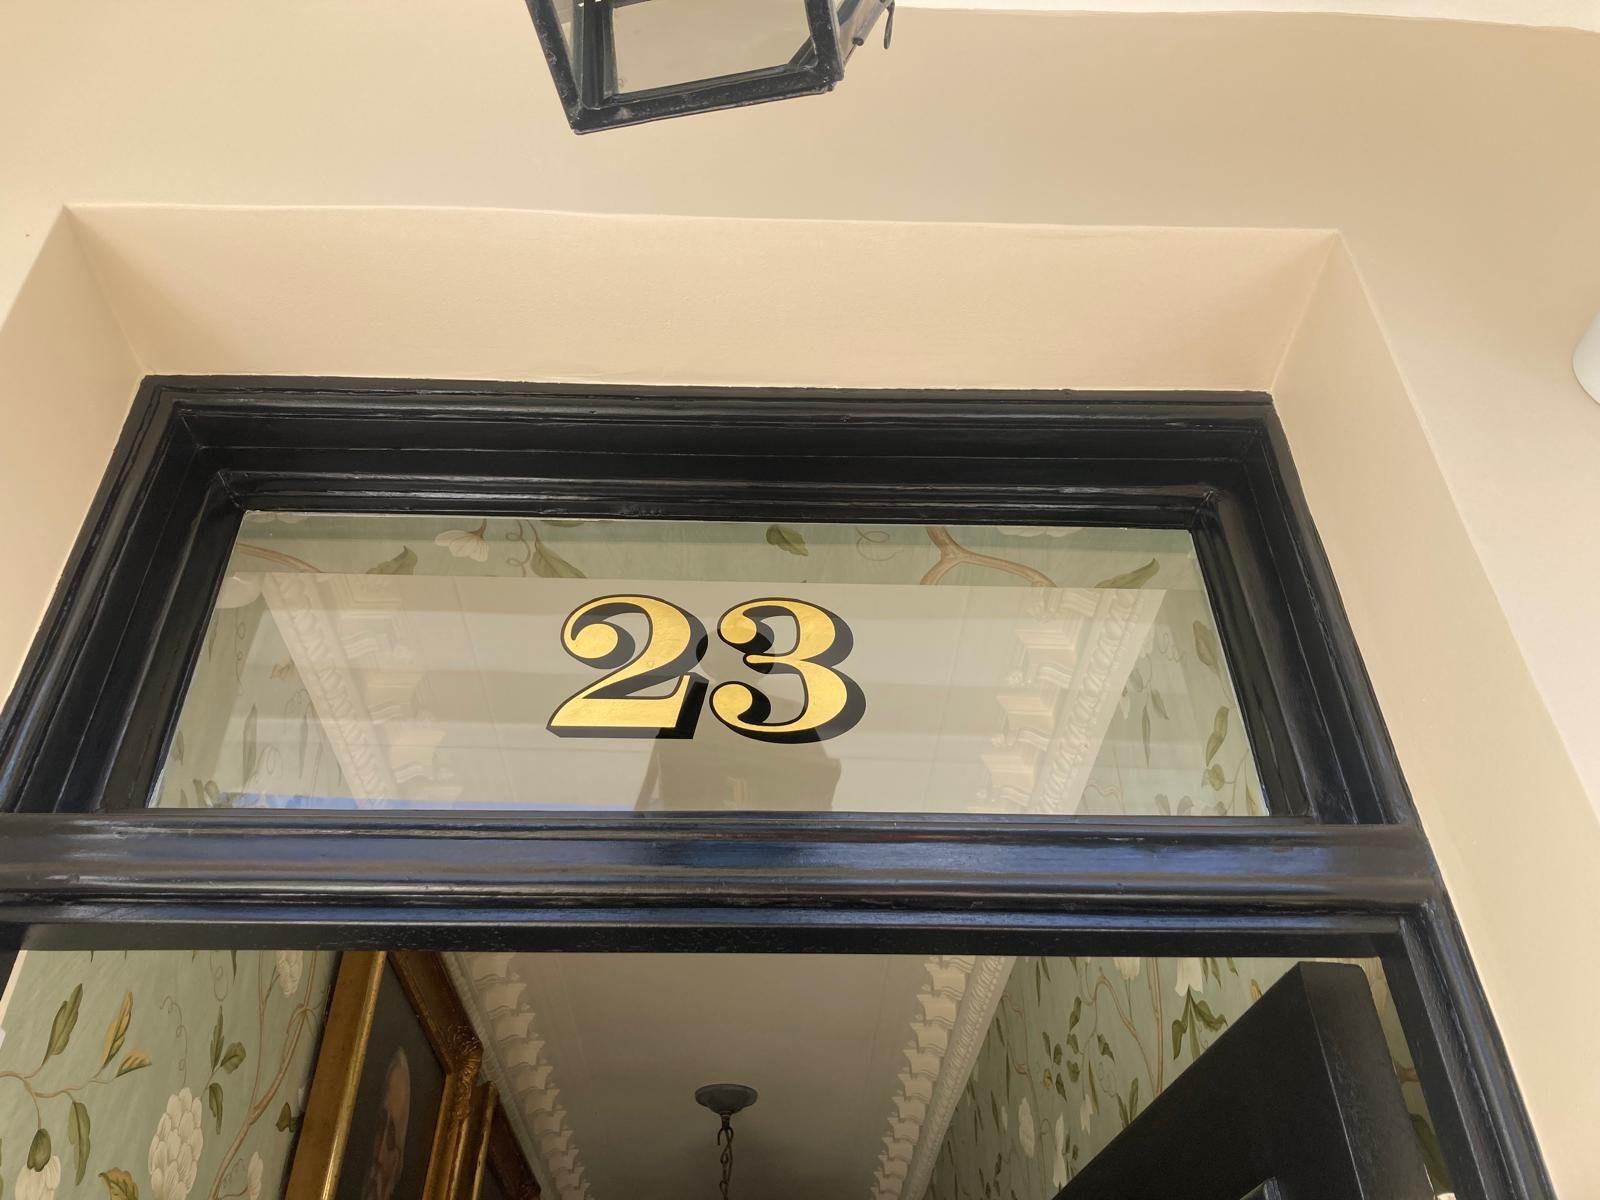
House Numbers
Heritage correct. Distinct. Couture. Beautiful.

House Numbers

Gold+Black Numerals


Office & XL Walls
Wall art graphics, to inspire Leadership ideas & success.


Minimalist Shops
For all Minimalist Boho Type fans.

- Chic Minimal Shop
- Soho to City Slickers Minimals
- More Boho Vibes
- Fulham Road Vibes
- Chiswick Vibes
- NGS ON THE INSIDE New
Pure Graphic Design
We craft your powerful logo and Brand ID.

- NGS Logo Design New

ID Brand Design
We design for today’s successes & tomorrow’s Icons.

ID Logo Design
- NGS Custom Fonts By Design New


Design Contacts
NGS Case Histories
‘On the inside’ some amazing projects, from Tate to Barbour


Talk to us + Design Services
Keeping it simple + FAQs.
We respond super fast…


Serving the best clients in the world.
‘This is beyond amazing Nick”
Will Petty ‘Elsie’s Old World Delights’, Moab, Utah
NGS CAFE SIGNS